
目次
Loading...
概要
このページではWindowsでファイルやフォルダを圧縮するための方法を掲載しています。
Windows標準の機能を使ってファイルを圧縮しますのでほかのアプリケーションのインストールは不要です。
圧縮の手順
※画面はWindows 11 24H2です。
エクスプローラー上でファイルもしくはフォルダを選択します。
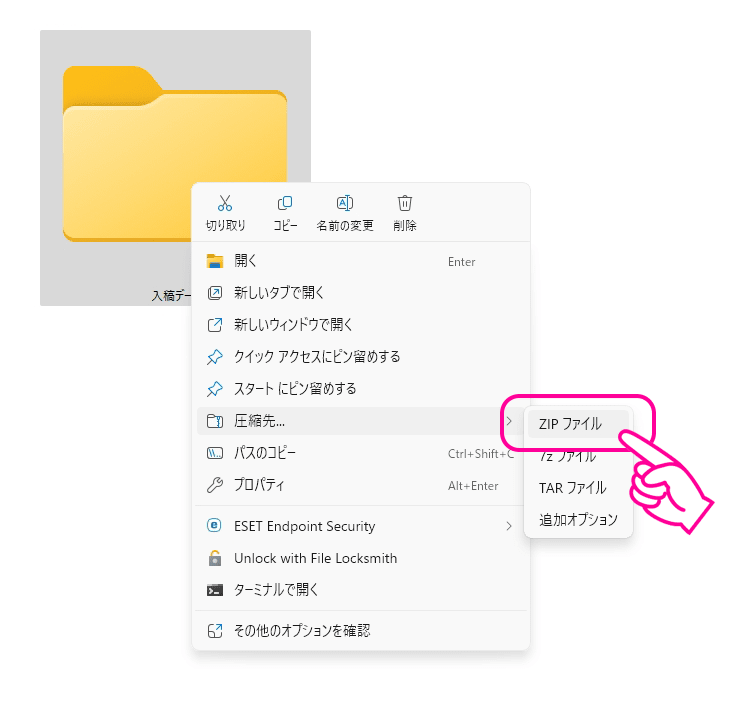
右クリックをして、右クリックメニュー(コンテキストメニュー)から「圧縮先」→「ZIPファイル」を選択します。
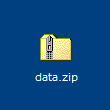
ZIP形式で圧縮が開始され「(ファイルもしくはフォルダ名).zip」というZIPファイルができます。
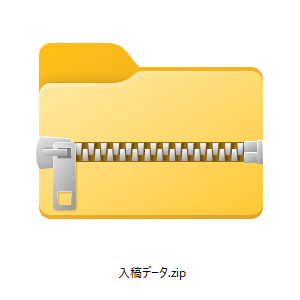
以上です。
以下は過去の情報です。
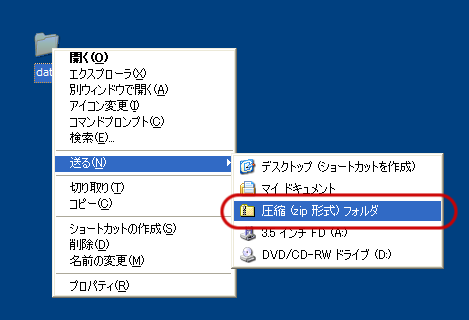
画面はWindows XPです。Windows 10の一時期までは同じ手順で圧縮フォルダーを作ることができます。
圧縮したいフォルダやファイルを選択します。
右クリックして「送る」→「圧縮(zip形式)フォルダ」を選択します。
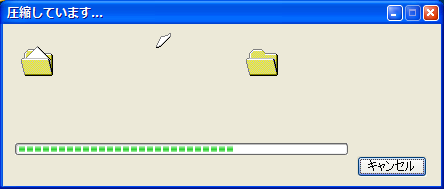
ファイルサイズが大きいものは以下のように進捗が表示されます。
以上です。